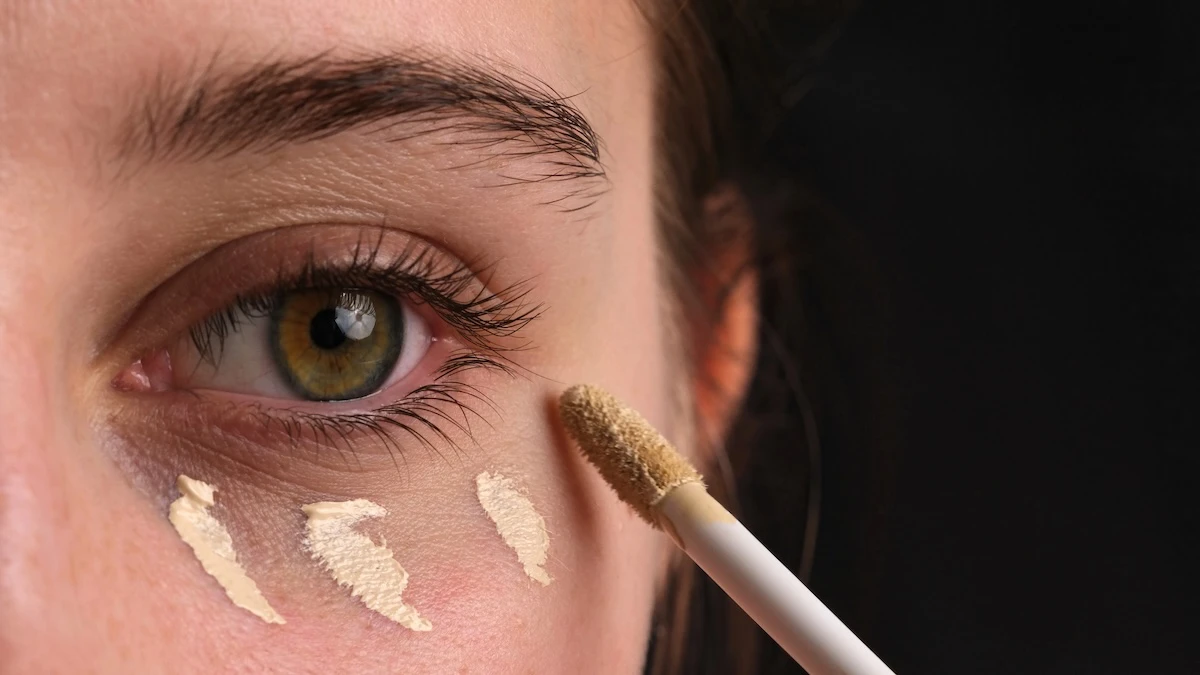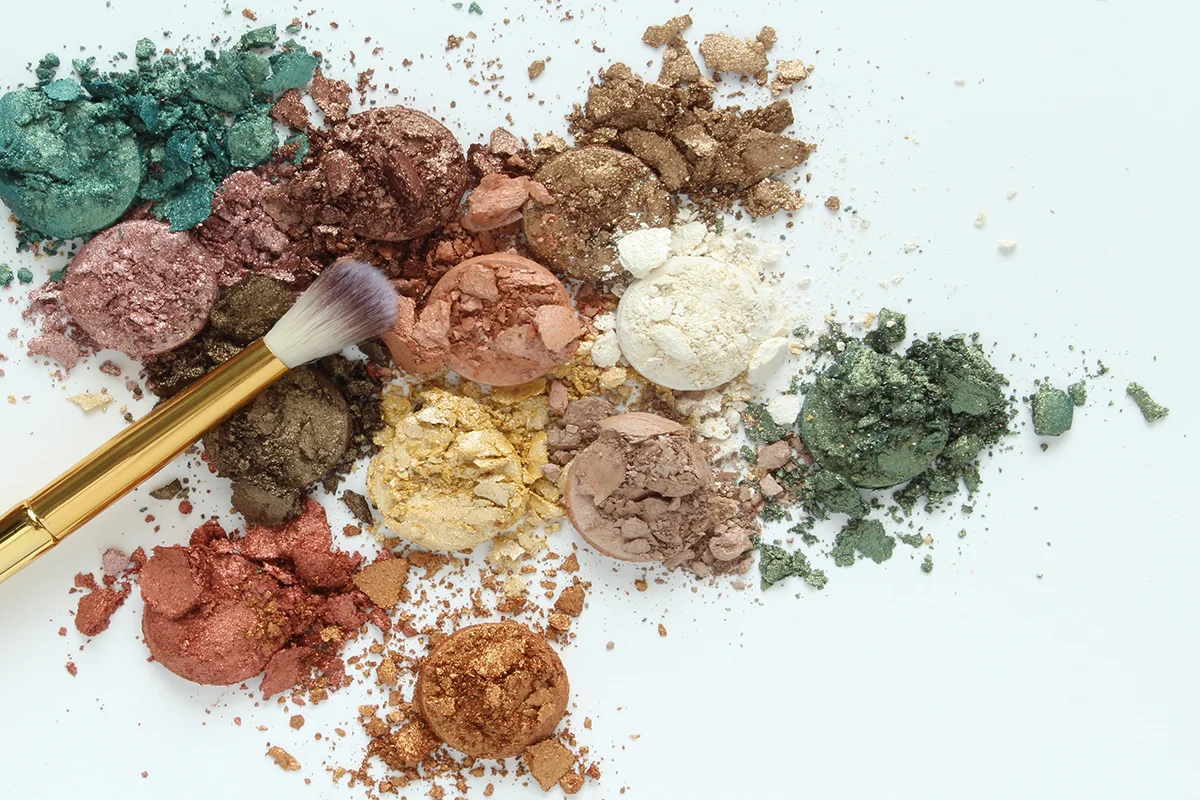
How to blend eyeshadow is one of those skills that sounds simple until you are standing in front of the mirror wondering why your eye look came out streaky instead of seamless. The good news is that blending is completely learnable, and once you understand the right tools and techniques, it changes everything about the way your makeup looks.
This guide covers everything you need to know, including:
By the time you finish reading, you will have a clear, practical process you can follow every single time you sit down to do your eye makeup. No more guessing, no more patchy results.
Ask any makeup artist what separates a polished eye look from an amateur one, and the answer is almost always the same: blending. You can use the most expensive eyeshadow palette on the market and still end up with a muddy, uneven result if the blending technique is off. On the flip side, a simple two-shade look with a drugstore palette can look stunning when the blending is clean and seamless.
Blending is what creates that soft, diffused transition between colors. It smooths out harsh edges, adds dimension, and makes the entire eye look cohesive. It is not just a finishing step. It is the foundation of every technique covered in this guide.
Before you touch a single shadow, it helps to know which brushes actually do the work. You do not need a massive collection. Three brushes will cover almost every situation.
A fluffy blending brush is your most important tool. It has a loose, dome-shaped head with soft bristles that diffuse color without depositing too much product in one spot. This is the brush you use to blend out harsh edges and work transition shades into the crease.
A flat shader brush is what you reach for when you want to pack color onto the lid. The dense, flat bristles press pigment directly onto the surface instead of diffusing it, which gives you more intensity and control.
A pencil brush is smaller and more precise. It is useful for blending out shadow along the lower lash line or adding detail to the inner corner without affecting the surrounding areas.
Having all three on hand means you always have the right tool for each step, which makes the entire process smoother and more predictable.
Preparation makes a bigger difference than most people expect. Skipping this step is one of the most common reasons eyeshadow ends up patchy or creased by midday.
Start with an eyeshadow primer. Apply a thin layer across the entire lid and blend it in with your fingertip. Primer creates a slightly tacky surface that gives the shadow something to grip, which improves both color payoff and wear time. Without it, eyeshadow tends to slide around, crease, and lose intensity within a few hours.
Once the primer has set for about 30 seconds, take your fluffy blending brush and a matte neutral shade that is close to your skin tone. Dust it lightly across the lid and up into the crease. This step sets the primer and creates a smooth, even base that makes every shadow you apply on top of it blend more easily. Think of it as priming the primer.
This is the core of the whole process. Follow these steps in order and you will start seeing cleaner, more professional results right away.
Step 1: Apply your transition shade. Using your fluffy blending brush, pick up a matte shadow that is one or two shades deeper than your skin tone. Tap off any excess product from the brush before applying. Sweep the shadow into the crease using a back-and-forth windshield-wiper motion. This shade acts as a bridge between your lid color and your brow bone, so blending looks seamless.
Step 2: Build your lid color in thin layers. Load your flat shader brush with your chosen lid shade and tap off the excess. Press the color onto the center of your lid and work outward. Apply a little, blend a little. Repeat. This approach gives you much more control than trying to apply everything at once.
Step 3: Blend the edges. Take your clean fluffy blending brush and use small, circular motions to soften the edge where your lid color meets your transition shade. This is where most of the actual blending happens. Keep the brush moving and use a light touch. If you press too hard, you will pick up and move too much product.
Step 4: Deepen the outer corner if desired. For more dimension, apply a slightly deeper shade to the outer corner of the lid and lower crease. Use a small windshield-wiper motion to blend it inward so it fades naturally into your main lid color.
Step 5: Highlight the inner corner and brow bone. Use a small brush or your fingertip to press a light shimmer or matte highlight shade onto the inner corner and just beneath the arch of your brow. This brightens the eye and makes the whole look feel finished.
Step 6: Check your work in natural light. Artificial lighting in bathrooms can be flattering in ways that hide patchiness. Step somewhere with natural light before deciding your look is done. If you notice any harsh lines or uneven patches, go back in with your fluffy brush using light, circular motions until they are smoothed out.
The single most common cause of patchy, muddy eyeshadow is too much product on the brush. When the brush is overloaded, the shadow deposits in a concentrated clump instead of diffusing evenly. Once that happens, blending it out without making it look muddy is very difficult.
The fix is simple: tap your brush against the back of your hand or the edge of the palette before every application. You want to remove the loose, excess powder that would otherwise fall onto your lid or drop onto your cheeks as fallout.
Then apply in thin layers. A single pass with a lightly loaded brush will look sheer, but that is the point. Layer the same color two or three times, blending between each pass, and you will build up to the intensity you want without losing control of the edges. It takes a little more time, but the results are noticeably cleaner.
Blending technique stays mostly the same regardless of eye shape, but where you place your shadow and how high you blend can make a significant difference in how the finished look flatters your specific features.
For hooded eyes, the crease is partially covered when the eyes are open, so blending higher than the actual crease creates the illusion of more lid space. Work your transition shade slightly above where you feel the crease sits and blend upward toward the brow bone.
For monolid eyes, there is no visible crease to use as a guide, so blending is done more freely across the entire lid. Focus on creating a gradient from a deeper shade at the lash line to a lighter shade toward the brow bone.
For deep-set eyes, the brow bone naturally casts a shadow over the lid, so heavy contouring in the crease can make the eyes look more recessed. Keep deeper shades closer to the lash line and use lighter, brighter shades across the lid and brow bone.
For round eyes, blending a deeper shade into the outer corner and extending it slightly outward can create a more elongated, almond-shaped appearance.
Harsh edges. This usually means you stopped blending too soon or used too much product. Go back in with a clean fluffy brush and use light circular motions to soften the line.
Muddy color. This happens when two contrasting shades get blended together with the same dirty brush, mixing the pigments into a brownish-gray mess. Always use a clean brush when switching between very different colors, or at minimum wipe your brush on a tissue between shades.
Fallout under the eyes. This is loose powder that drops from the brush or lid onto the under-eye area during application. Apply eyeshadow before your base makeup so any fallout can be wiped away cleanly. You can also hold a tissue or makeup pad under your eye while blending to catch excess powder.
Creasing. This is almost always a primer issue. If your eyeshadow creases during wear, add an eyeshadow primer to your routine and make sure you are setting it with a neutral shadow before applying color.
Over-blending until the color disappears. This is more common than people think. If you keep going back and blending after the look is already clean, you will eventually diffuse the color until it loses all impact. Once your edges are soft and seamless, put the brush down.
Not all eyeshadows blend equally well, and understanding why can save you a lot of frustration when shopping.
Matte shadows blend more easily than shimmers or glitters. The finely milled powder in a quality matte shade diffuses smoothly without dragging or looking patchy. Shimmers and foils tend to have a chunkier texture that can look blotchy if over-blended, so they work best when pressed onto the lid rather than worked with a blending motion.
Pressed powder shadows are generally the most beginner-friendly formula because they are easy to control and build. Loose powder shadows offer intense pigment but require more precision since they tend to kick up and create fallout if you are not careful.
When evaluating a palette or single shadow, look for one that feels soft and smooth when you swatch it with your finger. If it feels powdery and dusty or hard and chalky, it is likely going to be harder to blend. A shadow that sinks into your skin and blends out with minimal effort is a sign of good quality, regardless of the price point.
Seamless eyeshadow blending comes down to three things: the right brushes, a properly prepped lid, and a light-handed approach that builds color in layers. None of it requires expensive products or years of practice. It just requires knowing the process and giving yourself the space to work through it at your own pace.
Use this guide as your reference every time you sit down to do your eye makeup. The more you practice these steps, the more instinctive they will become, and the more confident you will feel every time you pick up a brush.
Ready to take your makeup skills even further? Explore the makeup and hair Classes in Columbus, Ohio at 614 Beauty and learn hands-on techniques from professional instructors in a supportive, beginner-friendly environment.