Learning how to apply mascara without clumps can completely change the way your eye makeup looks, turning spidery, clumpy lashes into a clean, fluttery finish every single time. If you have ever pulled out the wand, applied a coat, and ended up with stiff little clumps stuck together at the tips, you are not alone. It is one of the most common makeup frustrations, and the good news is that it is also one of the easiest to fix once you understand what is causing it.
In this guide, you will learn:
By the end, you will have a clear routine you can use every morning, no guesswork required.
Before you can fix clumpy mascara, it helps to understand why it happens. Most of the time, it comes down to a few simple culprits.
The biggest one is too much product on the wand. When you pull the wand out of the tube, it usually picks up more mascara than your lashes actually need, and that extra product is what turns into clumps. Pumping the wand in and out of the tube makes this worse, since it pushes even more product onto the wand and lets air into the tube, which dries the formula out faster.
Old or expired mascara is another common cause. Most formulas only last three to six months once opened, and once they start drying out, the texture gets thick and gloppy, which makes clean application nearly impossible.
Finally, applying too many coats too quickly, without letting each layer dry, almost always leads to clumping. Wet mascara on top of wet mascara has nowhere to go but into little clumps along your lash line.
The mascara and wand you choose play a bigger role in clump prevention than most people realize. If you have ever switched products and noticed your lashes suddenly looked cleaner (or messier), this is why.
A few things to keep in mind when picking your mascara:
There is no single best mascara for everyone since lash type, length, and personal preference all play a role. The right choice is the one that glides on smoothly and lets you control exactly how much product ends up on your lashes.
A little prep work before you even open the mascara tube makes a huge difference in how clean your final result looks.
Start by curling your lashes. This opens up your eyes, lifts your lashes away from your eyelid, and gives mascara more room to coat each lash evenly instead of bending against skin or eyelashes that are pointing straight down.
Next, and this is the step most people skip, wipe the wand on a tissue before your first stroke. Pulling the wand straight from the tube to your lashes almost guarantees too much product goes on at once. A quick wipe removes the excess and leaves just enough on the wand for a clean first coat.
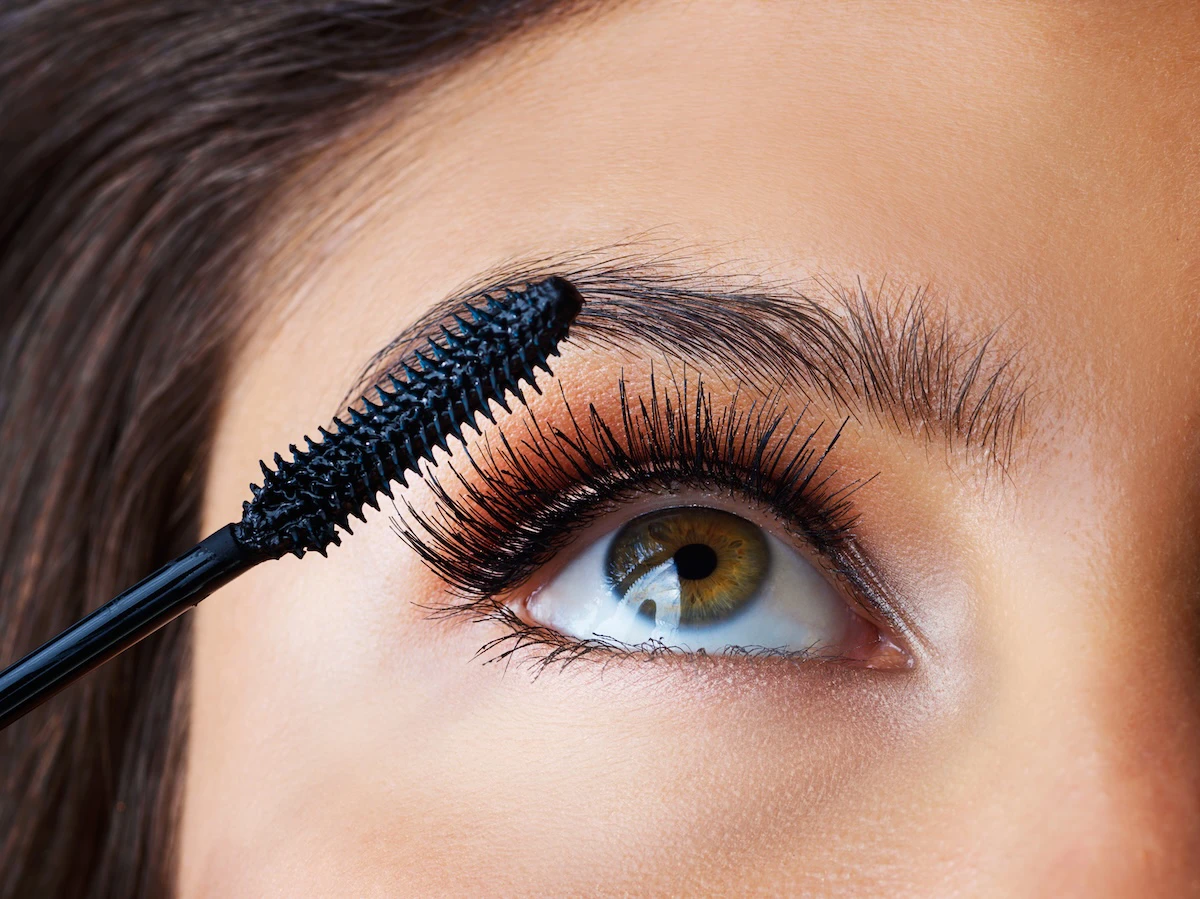
Once your lashes are curled and your wand is wiped, you are ready for the application itself. Here is the technique that keeps lashes separated instead of clumped.
This zigzag motion is the secret most people miss. Swiping straight up in one fast motion is what causes lashes to stick together, while the wiggling motion separates them as the product goes on.
If you love a fuller lash look, you do not have to choose between volume and clean application. The trick is layering correctly instead of piling on product all at once.
Patience matters more than product quantity here. Two thin, well-separated coats will always look fuller and cleaner than one thick, rushed coat.
Even with good technique, a few habits can quietly sabotage your results. Watch out for these:
Most of these are easy to catch once you know what to look for, and fixing even one or two of them can make a noticeable difference in how clean your lashes look by the end of the day.
Even with the best technique, clumps can sneak in sometimes, and that is completely normal. Here is how to fix them without starting over.
If the mascara is still wet, run a clean, dry spoolie brush through your lashes right away. This breaks up the clump and redistributes the product evenly while it is still workable.
If the mascara has already dried, a slightly damp cotton swab can help soften stubborn clumps. Gently roll it along the lashes rather than rubbing, which can smudge mascara onto your eyelid.
If a clump is really stuck or your lashes start looking too heavy, it is sometimes easier to remove that section with a bit of micellar water on a cotton swab and reapply a clean, thin coat. There is no need to feel discouraged. Fixing a clump takes seconds once you know the trick.
Getting a clean application in the morning is only half the job. A few small habits help your lashes stay clump free and fresh from morning to night.
Avoid rubbing your eyes throughout the day, since this is one of the fastest ways to smudge mascara or push lashes together. If you need to touch up, gently blot rather than swipe, and only add a thin layer if needed rather than a full new coat on top of what is already there.
At the end of the day, take time to remove your mascara properly with a gentle, oil-based remover. Lashes that are cleaned thoroughly each night are less likely to have leftover product buildup, which is one of the sneaky causes of clumping the next time you apply mascara.
Clump free mascara application really comes down to a few simple habits: choosing a fresh, well-suited formula, wiping excess product off the wand, using a wiggling motion as you apply, and giving each coat time to dry before adding another. Once these steps become second nature, clumpy lashes become a thing of the past.
If you would like hands-on guidance with mascara, lash techniques, and the rest of your makeup routine, explore our Makeup and Hair Classes in Columbus, Ohio and let our team help you build skills that work for your eyes, your lashes, and your everyday routine.