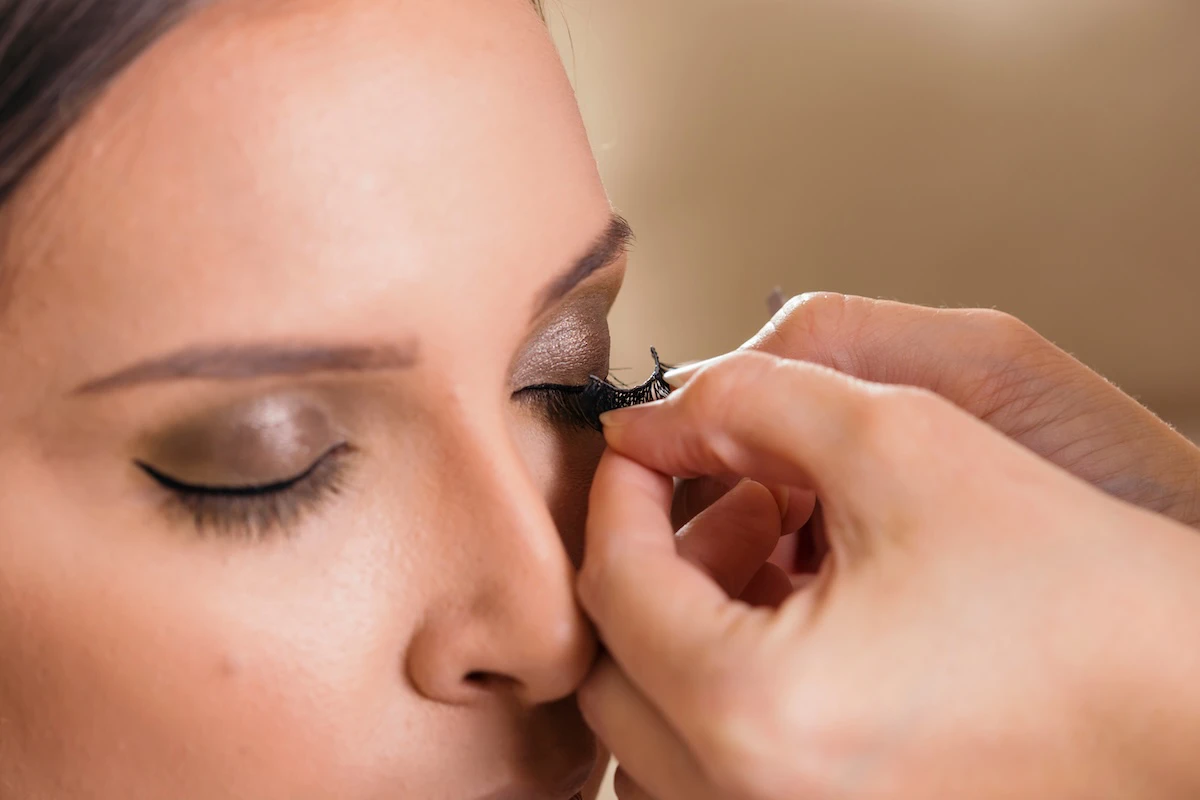
Learning how to apply eyelash strips is one of those skills that feels impossible at first and completely natural once it clicks. If you have ever ended up with a lash that is half-lifted, visibly glued, or sitting at a completely wrong angle, you are not alone. The good news is that nearly every frustrating false lash experience comes down to a small number of fixable technique mistakes, and this post walks you through all of them.
Here is what you will learn:
- Why strip lashes look fake and how technique fixes it
- How to choose the right lash style for your eye shape
- Tools that make application easier
- How to measure, trim, and apply lashes step by step
- How to blend lashes so they look natural
- How to remove and reuse them without damage
By the end, you will have everything you need to apply strip lashes confidently, whether you are getting ready for a night out or a special event.
Why Strip Lashes Look Fake (And How the Right Technique Fixes It)
Most people who struggle with strip lashes are not using the wrong product. They are skipping one or two steps that make the difference between lashes that look seamless and lashes that look like they belong in a costume kit.
The most common culprits are:
- Skipping the sizing step, which causes the lash to overhang at the inner or outer corner
- Applying glue too thick or pressing the lash down before the glue gets tacky
- Placing the lash too high on the lid instead of right along the lash line
- Forgetting to blend natural lashes with the strip after application
Each section of this guide addresses one of these issues directly. Once you understand why each step exists, the whole process starts to make a lot more sense.
Choosing the Right Strip Lashes for Your Eye Shape and Look
Not every lash style works for every eye. Choosing the right one before you start saves a lot of frustration.
Here is a quick breakdown by style:
- Natural lashes add length and a little volume without looking overdone. These are great for everyday wear or a no-makeup-makeup look.
- Wispy lashes have a feathered, fluttery effect. They are versatile and flattering on most eye shapes.
- Dramatic lashes are full and bold. They work well for events, photo shoots, or looks that call for serious impact.
- Cat-eye lashes are longer at the outer corner and create a lifted, elongated effect. These work especially well for almond and round eyes.
For hooded or monolid eyes, look for styles with most of the volume in the center or outer half of the lash. For smaller eyes, a shorter, lighter band tends to look more proportional than something thick and heavy.
When in doubt, start with a natural or wispy style. They are the most forgiving and the easiest to blend.
Tools You Need Before You Start
Having the right tools nearby before you begin makes the whole process smoother and less stressful.
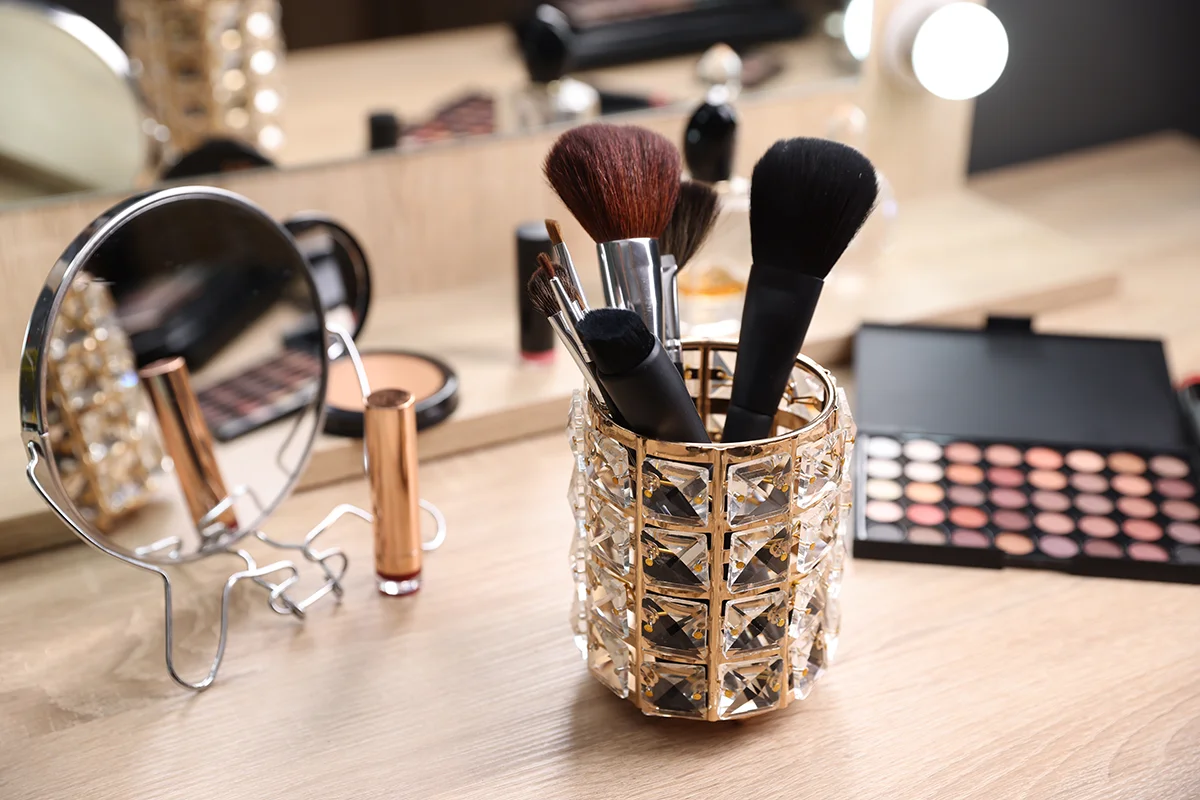
- Small scissors for trimming the lash band to fit your eye
- Tweezers or a lash applicator for placing the lash with precision (fingers work too, but these give you more control)
- Lash glue or adhesive liner as your bonding agent
- A mirror positioned at eye level so you can see the lash line clearly without tilting your head back
- Thin eyeliner for concealing the band after application
If you do not have a lash applicator, a pair of angled tweezers works just as well. The key is to hold the lash along the band rather than pinching the fibers, which can distort the shape.
How to Measure and Trim Strip Lashes for a Perfect Fit
This is the step most beginners skip, and it is the most important one.
Strip lashes are made to fit a range of eye sizes, which means they almost always need to be trimmed before use.
Here is how to do it:
- Hold the lash strip up to your eye without any glue. The inner edge of the lash should start where your natural lash line begins, not at your tear duct. The outer edge should end where your natural lash line ends.
- If the strip extends past either corner, it needs to be trimmed.
- Always trim from the outer edge of the lash, not the inner edge. Cutting from the inner corner removes the shorter, more natural-looking fibers that help the lash blend at the nose.
- Trim a small amount at a time and check the fit again before cutting more.
A lash that overhangs at the inner corner will lift within hours. A lash that is trimmed to fit your eye will stay put and look like it belongs there.
How to Apply Lash Glue the Right Way
Lash glue is where most applications go wrong, and usually it comes down to two things: too much product, or not enough wait time.
Here is the correct process:
- Squeeze a thin line of glue along the band of the lash strip. You want just enough to coat the band evenly. A thick glob will squeeze out when you press the lash down and become visible along your lash line.
- Wait 30 to 60 seconds before applying. This is the step people rush, and it makes a significant difference. When the glue is wet, the lash will slide around. When it is tacky, it grips immediately and holds where you place it.
- To test tackiness, lightly touch the glue with the tip of your finger. If it pulls slightly without leaving residue on your finger, it is ready.
If you prefer to skip traditional tube glue, adhesive liner is a great alternative. You apply it like eyeliner along your lash line, wait for it to get tacky, then press the lash strip directly onto it. Many beginners find this method easier to control.
Step-by-Step: How to Apply Eyelash Strips With or Without Tweezers
Once your lash is trimmed and your glue is tacky, you are ready to place it. There are two methods depending on your comfort level.
Finger method (easier for beginners):
- Hold the lash strip at both ends with your thumbs and index fingers.
- Look straight into your mirror, which should be at eye level, not above you.
- Place the center of the lash strip on the center of your lash line first.
- Press down the inner corner, then the outer corner.
- Run your finger gently along the full band to make sure it is secure.
Tweezers or applicator method (more precise):
- Hold the lash strip at the band with your tweezers, near the center.
- Place the center of the strip on your lash line and press gently.
- Use the tip of the tweezers to press down the inner and outer corners.
- Run the flat side of the tweezers along the band to seal it completely.
Regardless of which method you use, always start at the center of the eye. Trying to anchor the inner corner first is the most common placement mistake and leads to uneven positioning.
How to Blend Strip Lashes So They Look Natural
Placement is only half the process. Blending is what makes strip lashes look like they are actually yours.
Once the lash is placed and the glue has dried:
- Use a lash curler to gently press your natural lashes and the strip lashes together. This merges them into one uniform curve rather than two separate layers.
- Apply one coat of mascara to blend the two together. Focus on the base of the lashes where the natural and false fibers meet. Avoid loading the tips of false lashes with mascara, which can weigh them down and cause lifting.
- Use a thin liquid or gel liner to trace along the lash band. This conceals any visible glue or gap and creates a clean, seamless finish. A small smudge of dark eyeshadow along the band works as well.
If the band is still slightly visible after lining, a thin strip of dark liner drawn just above it will make it disappear completely.
How to Make Strip Lashes Last All Day (and Night)
A well-applied lash should stay put for a full day of wear. A few extra steps help ensure it does.
- Before applying your lashes, make sure your eyelids are free of oil. Primer, eyeshadow, or a light dusting of powder on the lid creates a drier surface that glue adheres to much better.
- Avoid rubbing or touching your eye area throughout the day.
- If you notice a corner starting to lift, press it down gently with your fingertip and hold for a few seconds. You can also apply a tiny dot of glue with a cotton swab and press it back into place.
- Setting spray applied lightly over the whole eye area after application can help anchor everything together.
Humidity and oily lids are the biggest threats to lash adhesion. If either is a factor for you, opt for a stronger waterproof formula glue and prep your lids carefully before application.
How to Remove Strip Lashes Without Damaging Your Natural Lashes
Pulling lashes off dry is the fastest way to damage your natural lashes, and it is also completely unnecessary. Removal should be gentle and take about 30 seconds.
Here is how to do it safely:
- Soak a cotton pad with an oil-based makeup remover or micellar water and hold it against your closed eye for 15 to 20 seconds. This softens the glue without tugging.
- Starting from the outer corner, gently peel the strip inward along the lash line. It should release easily. If it resists, apply more remover and wait a few more seconds.
- Do not pull upward or outward. Always peel along the line the lash sits on.
- Once removed, use your fingers or tweezers to peel any dried glue off the band. This keeps the band flexible and ready for reuse.
How Many Times Can You Reuse Strip Lashes?
With proper care, a good-quality strip lash can be reused anywhere from 10 to 25 times. Lower-cost lashes typically hold up for 3 to 5 uses before the band warps or the fibers start to fall out.
To get the most out of your lashes:
- Remove all dried glue from the band after each use. Use tweezers to peel it off carefully.
- Store lashes back in their original tray to maintain their curved shape.
- Avoid soaking the lashes in water or submerging them in remover, which breaks down the fibers faster. Clean only the band.
When lashes no longer hold their curve, the band becomes stiff or cracked, or the fibers start to look sparse or uneven, it is time to replace them.
Common Strip Lash Mistakes to Avoid
Use this as a quick reference while you are still building the skill:
- Skipping the sizing step and applying a lash that is too long for your eye
- Applying too much glue, which becomes visible along the lash line
- Not waiting for the glue to get tacky before placing the lash
- Starting placement at the inner corner instead of the center
- Placing the lash too high above your natural lash line
- Skipping the blending step so natural and false lashes look like two separate layers
- Pulling lashes off dry instead of dissolving the glue first
Every one of these is a fixable habit. The more you practice, the more automatic each step becomes.
Conclusion
Applying strip lashes like a pro is a skill, and like any skill, it gets easier every time you do it. The biggest shift is slowing down and giving each step its due: size the lash, wait for the glue, start at the center, and blend afterward. Those four habits alone will dramatically improve your results.
Practice at home on a low-stakes day so that by the time you need your lashes to be flawless, the process feels completely natural.
If you want hands-on guidance with a professional, our Makeup and Hair Classes in Columbus, Ohio are a great place to build your skills and get real-time feedback on your technique.