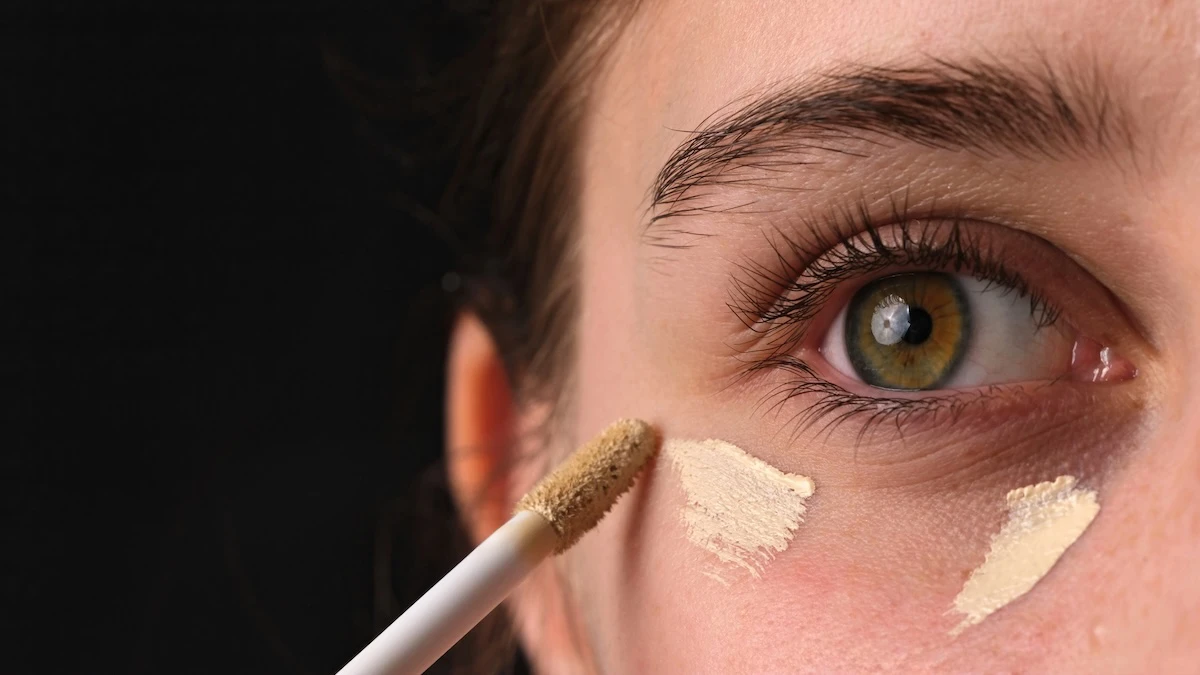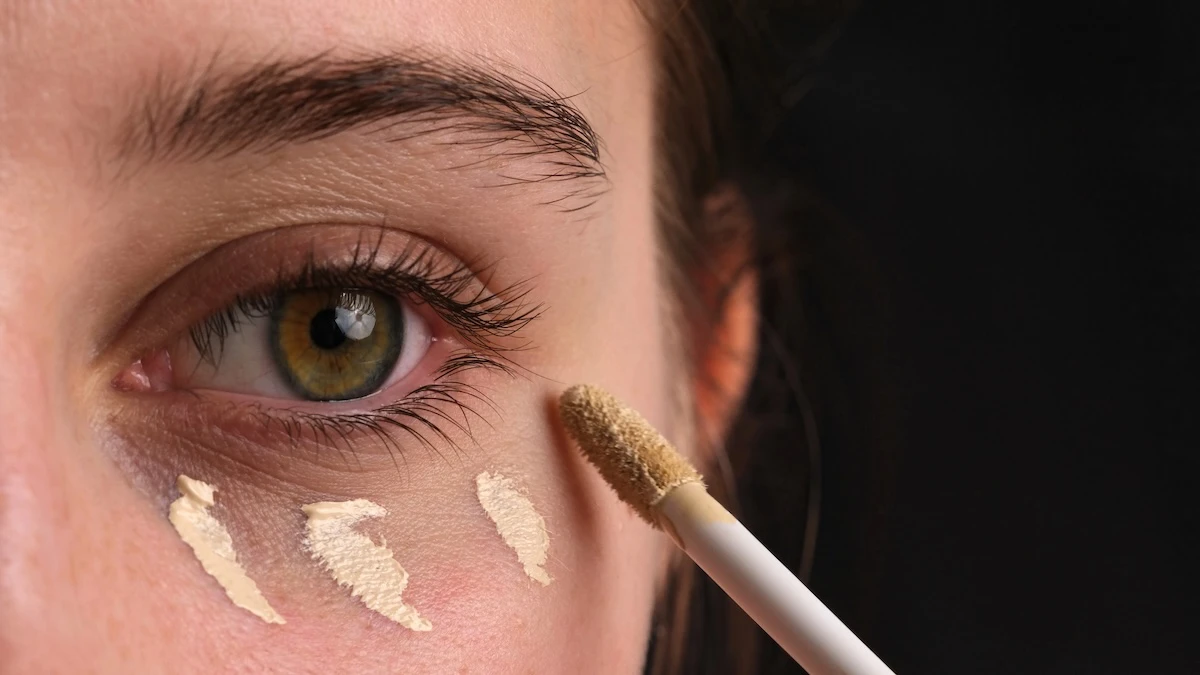
Knowing how to apply concealer correctly can be the difference between a flawless, natural finish and makeup that looks patchy, heavy, or like it's sitting on top of your skin instead of blending into it. Concealer seems simple on the surface, but small mistakes in shade, amount, or technique tend to show up fast, especially in good lighting or photos.
In this guide, you will learn:
By the end, you will have a clear, repeatable routine for concealer that looks smooth and natural every time.
Before getting into technique, it helps to know what job your concealer is doing, since that changes how you should apply it. Concealer is not one single product with one single purpose. It can brighten dark circles, cover blemishes, hide redness, or even help contour and highlight certain areas of the face.
Using the wrong type of concealer for the job is one of the most overlooked reasons application feels off, even with good technique. A thick, full-coverage formula meant for blemishes can look heavy and obvious under the eyes, while a light, brightening concealer may not cover a blemish well enough no matter how carefully it's applied. Knowing your goal first makes every step after this one easier.
Skin prep matters just as much for concealer as it does for foundation, since concealer is asked to do a lot of work in a small, often delicate area of the face.
Moisturized skin gives concealer a smooth surface to blend into, while dry or under-prepped skin causes patchiness and makes creasing far more likely, especially under the eyes. The order of operations matters too: skincare first, then primer, then concealer. Skipping a step, or rushing through one before it has time to absorb, throws off how everything sits on top of it.
Give your moisturizer and primer a minute or two to fully settle before reaching for concealer. This small pause makes a noticeable difference in how smoothly the product applies and how long it lasts.
Shade and formula are where a lot of concealer mistakes start, often before any product has even touched the skin.
For brightening under the eyes, a shade one to two tones lighter than your natural skin tone tends to work best, since the goal is to counteract darkness rather than just match your skin. For covering blemishes or redness, the opposite is true. A shade matched exactly to your skin tone blends in seamlessly, while a lighter shade can actually draw more attention to the spot you're trying to hide.
Formula matters too. A lightweight, hydrating formula works well for under-eyes and won't settle into fine lines as easily, while a thicker, fuller coverage formula is better suited for blemishes or areas that need more concentrated coverage. Matching the formula to the area, rather than using one concealer everywhere, makes the whole process easier.
The tool you use to apply concealer changes both how much product ends up on your skin and how natural the final result looks.
Fingers warm the product slightly as you apply it, which can help it blend more seamlessly, especially for small touch-ups. A small, flat concealer brush gives more precision and control, which is useful for covering blemishes or doing detailed work. A damp makeup sponge is great for blending larger areas, like under the eyes, since it presses product into the skin rather than pushing it around on the surface.
There's no single best tool for every situation. Many people end up using a combination, depending on the area of the face and the look they're going for.
Once your skin is prepped and you've chosen the right shade and formula, the application itself comes down to a few simple steps.
This step-by-step approach keeps the finish looking like skin rather than a layer sitting on top of it.
Setting concealer correctly helps it last without adding extra weight or texture to your face.
The baking technique works well for under-eyes specifically. Press a light layer of translucent powder onto the concealer using a small, fluffy brush or sponge, let it sit for a few minutes, then gently dust away the excess. This gives the powder time to absorb any extra moisture before it's disturbed, which helps prevent both creasing and a heavy, cakey look.
A light mist of setting spray as a final step helps blend powder and concealer together for a smoother, more natural finish, without needing to add more powder on top.
A handful of habits are responsible for most concealer problems, and each one is simple to fix once you spot it.
Most of these are easy to catch once you know what to look for, and adjusting even one or two can noticeably improve how natural your finished look appears.
Technique shifts slightly depending on where you're applying concealer, so a few quick notes can help.
For under-eyes, apply in a triangle shape and blend with a light tapping motion to brighten without settling into lines. For blemishes, apply directly to the spot with a small brush for precision, then blend just the edges so it melts into the surrounding skin. For contouring or highlighting, use a lighter hand and blend thoroughly, since concealer used this way is meant to subtly shape the face rather than provide heavy coverage.
Keeping these small adjustments in mind helps the same product work well across very different parts of your routine.
Applying concealer correctly comes down to a few key things: knowing what job it's doing, prepping your skin properly, choosing the right shade and formula, and using a gentle, gradual application technique. Once those pieces are in place, a natural, flawless finish becomes a lot easier to achieve every time.
If you would like hands-on practice with concealer application, color correcting, and building a full routine that holds up all day, explore our makeup and hair classes in Columbus, Ohio and let our team help you build skills that work for your skin.